

If you love the look of old books and papers, you might be wondering how to tea dye paper yourself. Tea dyeing is a simple and fun technique that can give your paper crafts a charming and antique feel. In this article, we’ll show you how to tea dye paper using different methods and materials, and share some tips and tricks to make your paper look even more authentic.

What You’ll Need
To tea dye paper, you’ll need the following items:
• Paper
You can use any kind of paper you like, such as printer paper, watercolor paper, brown paper, or scrapbooking paper. However, keep in mind that different papers will absorb the tea differently and produce different results. For instance, watercolor paper will be more resistant to the tea and create a lighter effect, while printer paper will be more absorbent and create a darker effect. You can also use eco-printed paper or paper with text or images on it for a more interesting look.
• Tea
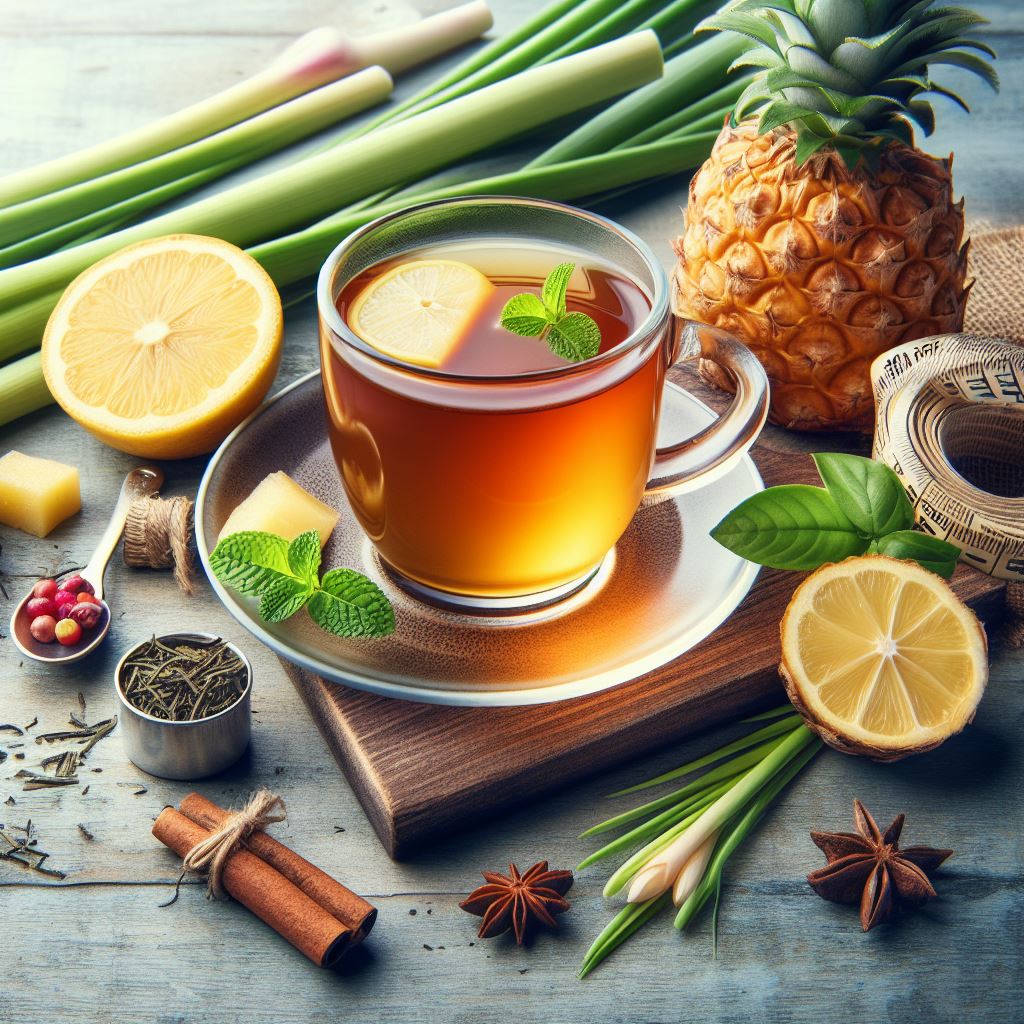
You can use any type of tea you have at home, but black tea is the most common choice for tea dyeing paper. Black tea will give your paper a warm and brownish hue that resembles old paper. You can also experiment with other types of tea, such as green tea, herbal tea, or flavored tea, to create different colors and effects. For instance, green tea will give your paper a more yellowish tone, while herbal tea with red ingredients, such as hibiscus or rosehips, will give your paper a more reddish tone.
• Water
You’ll need hot water to brew your tea and soak your paper. You can use tap water, bottled water, or distilled water, depending on your preference and availability. However, keep in mind that the quality and hardness of the water can affect the color and clarity of the tea. For instance, hard water can make the tea more cloudy and dull, while soft water can make the tea more clear and bright.
• Mug
You’ll need a mug or a cup to brew your tea and dip your tea bags. Make sure the mug is large enough to fit your tea bags and has a handle for easy handling. Avoid using mugs made of plastic or metal, as they can melt or get too hot when you pour boiling water into them.
• Kettle or Pot
You’ll need a kettle or a pot to boil your water and make your tea. You can use an electric kettle, a stovetop kettle, or a small pot, depending on what you have at home.
• Tray or Baking Sheet
You’ll need a tray or a baking sheet to lay your paper on and apply the tea. Make sure the tray or baking sheet is large enough to fit your paper and has a rim to prevent the tea from spilling over. You can use a metal or a glass tray or baking sheet, depending on what you have at home. However, if you plan to bake your paper in the oven, make sure the tray or baking sheet is oven-safe and can withstand high temperatures.
• Brush or Sponge
You’ll need a brush or a sponge to spread the tea evenly over your paper. You can use any kind of brush or sponge you have at home, such as a paintbrush, a foam brush, a makeup brush, or a kitchen sponge. However, make sure the brush or sponge is clean and has no residue or color from previous use, as they can stain or damage your paper. You can also use your fingers to apply the tea, but be careful not to burn yourself with the hot tea.
• Oven or Hair Dryer (optional)
You’ll need an oven or a hair dryer to dry your paper after you apply the tea. You can use any kind of oven or hair dryer you have at home, as long as they work properly and have adjustable settings. However, keep in mind that using an oven or a hair dryer can speed up the drying process, but can also make your paper more brittle and prone to cracking. If you want to preserve the texture and flexibility of your paper, you can also air-dry your paper by leaving it in a sunny or well-ventilated spot.
How to Tea Dye Paper
Now that you have all the materials ready, you can start tea dyeing your paper. Here are the basic steps to follow:

1. Brew your tea
Place 1-2 tea bags into your mug and fill it with boiling water. The amount of tea you use depends on how dark you want your paper to be. For a lighter effect, use 1 tea bag per sheet of paper. For a darker effect, use 2 tea bags per sheet of paper. Let the tea steep for about 5 minutes, or until it reaches a rich and dark color. You can also squeeze the tea bags to release more tea, but be careful not to burn yourself.
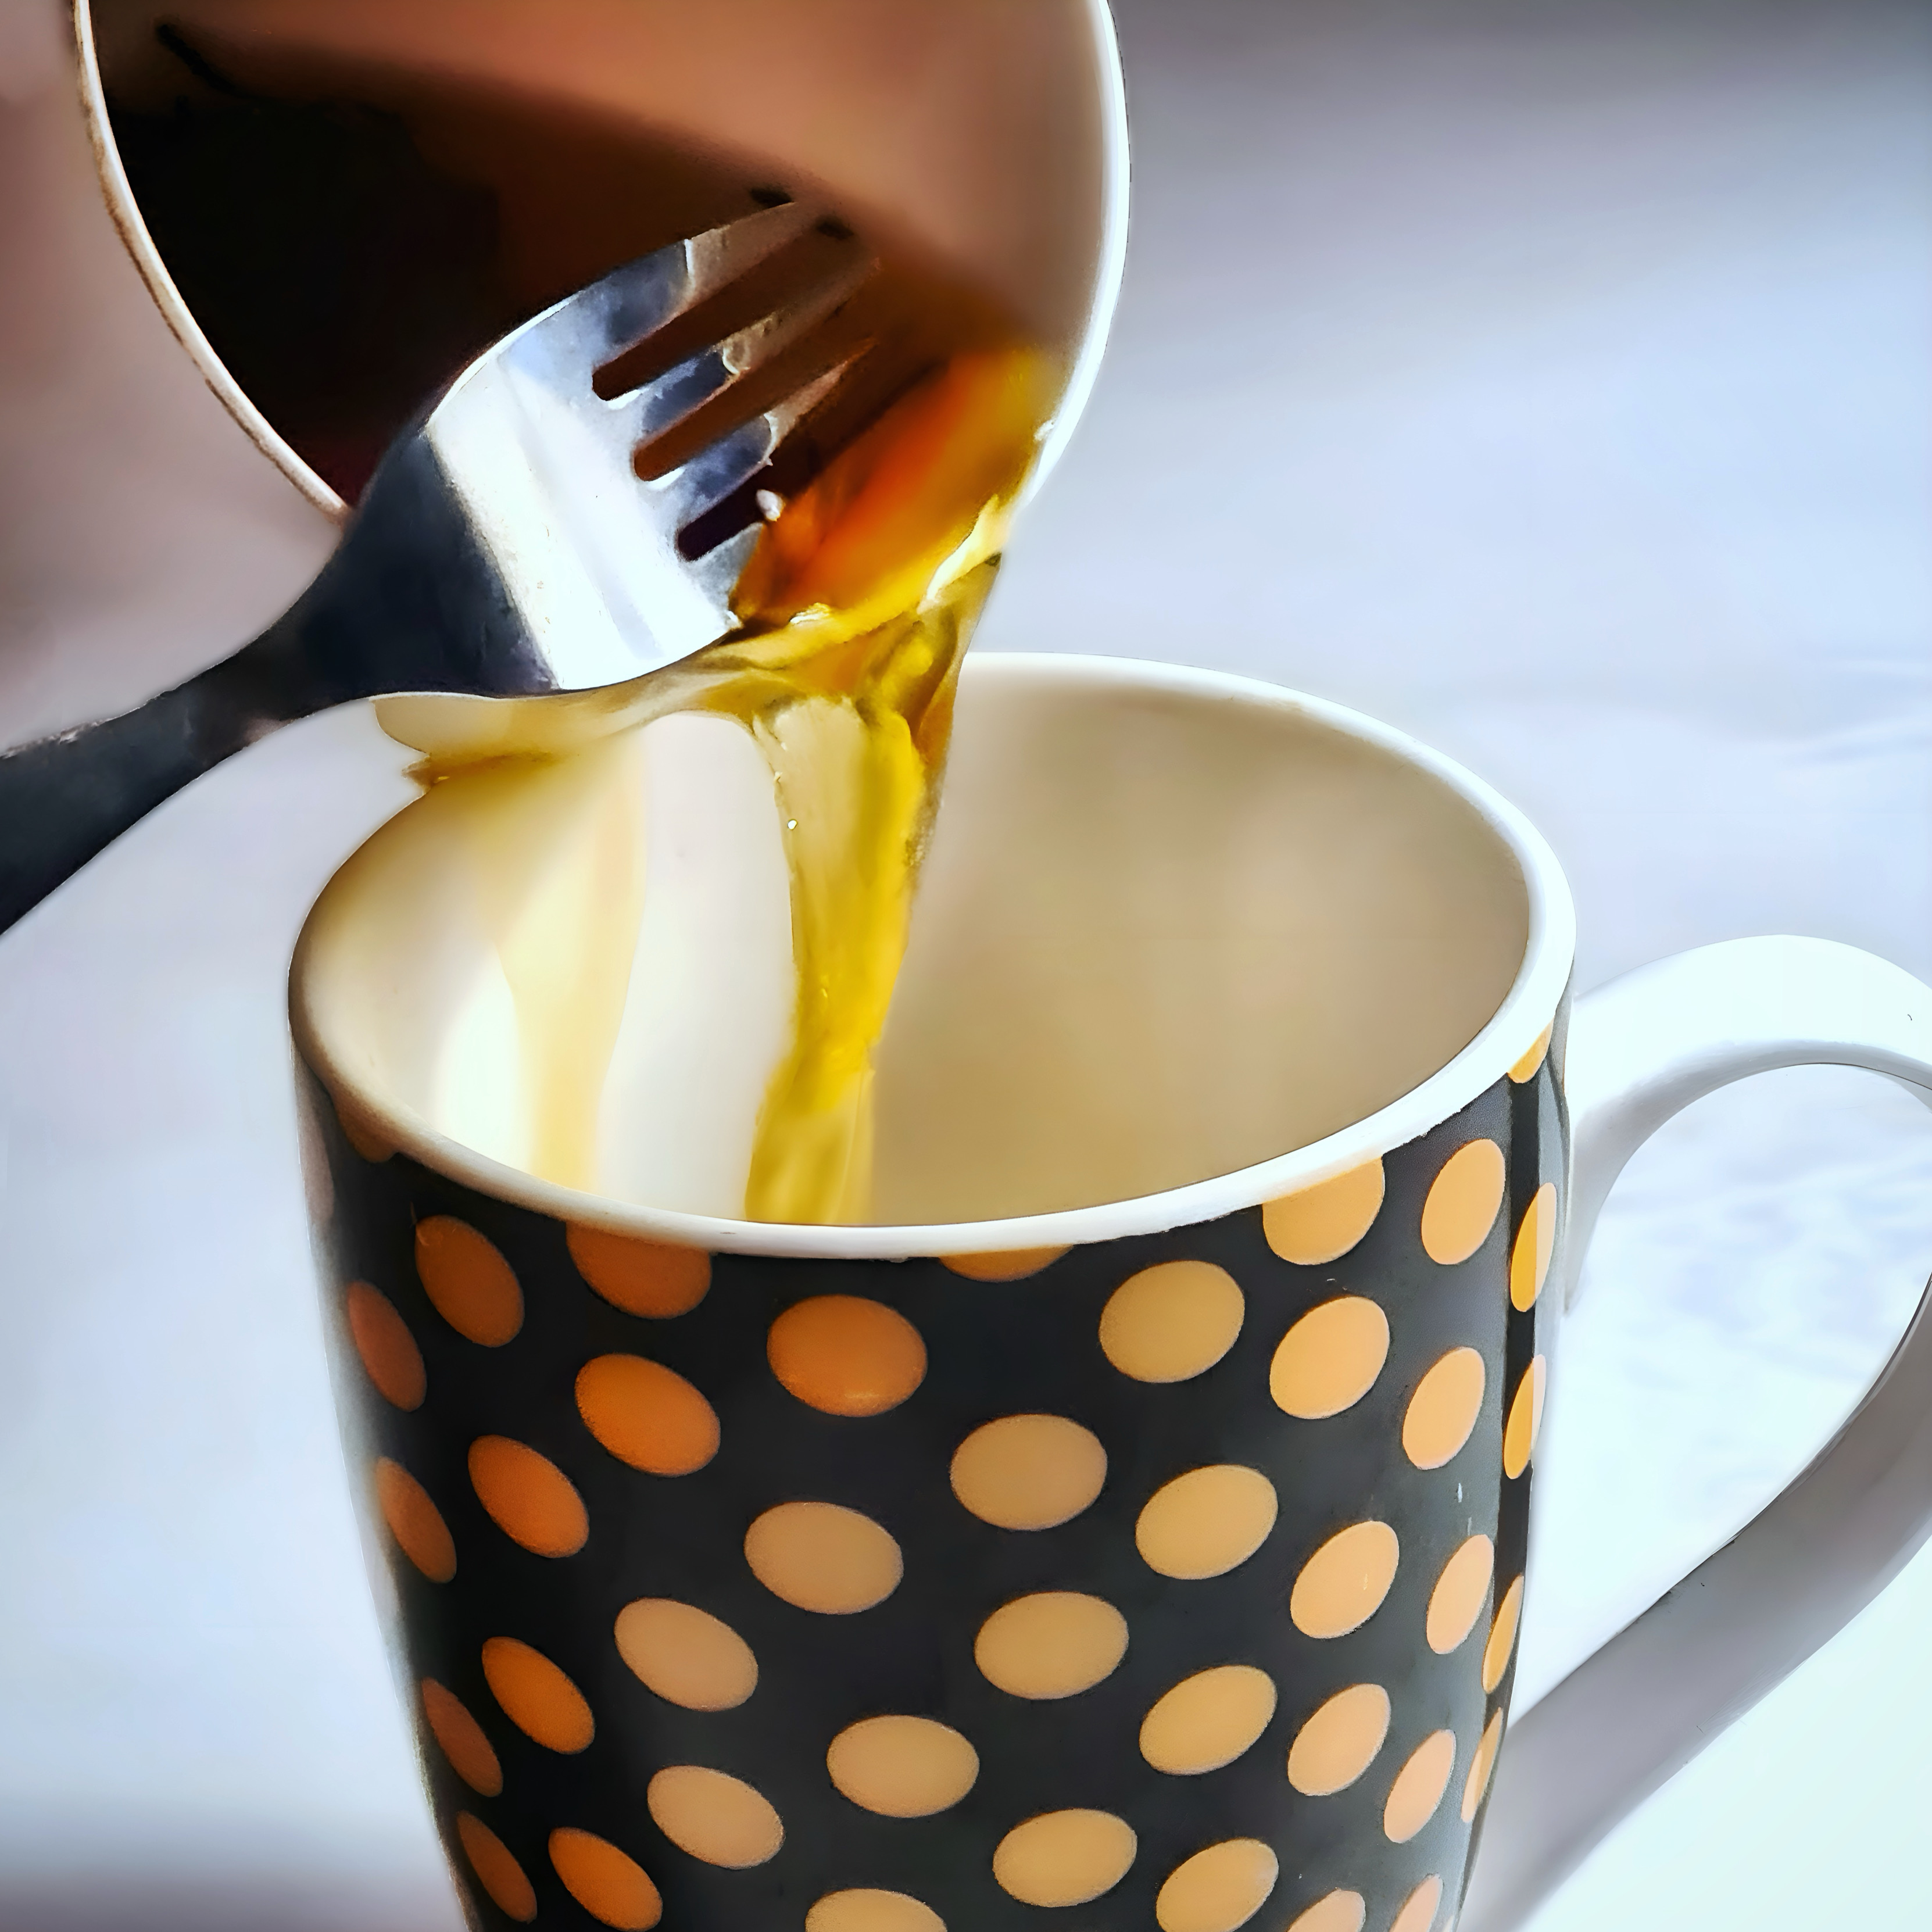
2. Apply the tea to your paper
Lay your paper on your tray or baking sheet and use your brush or sponge to dab or brush the tea over your paper. You can also dip the tea bags directly onto your paper and squeeze them to create splotches and drips. The amount of tea you apply depends on how saturated you want your paper to be. For a more subtle and uneven effect, apply the tea sparingly and randomly. For a more intense and uniform effect, apply the tea generously and evenly. You can also fold, crumple, or wrinkle your paper before or after you apply the tea to create creases and patterns.
3. Dry your paper
Once you’re happy with the appearance of your paper, you need to dry it completely. You can either bake your paper in the oven, blow-dry your paper with a hair dryer, or air-dry your paper naturally. To bake your paper, preheat your oven to 200°F (93°C) and place your tray or baking sheet in the oven for about 10 minutes, or until your paper is dry and slightly curled. To blow-dry your paper, set your hair dryer to low or medium heat and speed and hold it about 6 inches (15 cm) away from your paper. Move the hair dryer back and forth over your paper until it is dry and flat. To air-dry your paper, place your tray or baking sheet in a sunny or well-ventilated spot and leave it for several hours or overnight, or until your paper is dry and crisp.
4. Cut or tear your paper (optional)
If you want to change the size or shape of your paper, you can cut or tear it after you dry it. You can use scissors or a paper cutter to cut your paper into neat and straight pieces, or you can use your hands or a ruler and a craft knife to tear your paper into rough and irregular pieces. You can also use a hole puncher, a paper punch, or a die cutter to create holes or shapes on your paper.
Tips and Tricks
To make your tea dyed paper look even more vintage and authentic, you can try some of these tips and tricks:
• Add other ingredients
Use other ingredients with your tea, such as coffee, lemon juice, vinegar, salt, or spices. These can create different colors and effects. For instance, coffee will make your paper darker and more brown, lemon juice will make your paper lighter and more yellow. Vinegar will make your paper more acidic and more aged. Salt will make your paper more textured and more speckled, and spices will make your paper more aromatic and more varied.
• Use different types of paper
Try different types of paper, such as newspaper, book pages, envelopes, letters, maps, music sheets, or tickets. These can be used to create different themes and styles. For instance, newspaper will make your paper look more newsy and historical, while book pages will make your paper look more literary and scholarly. Envelopes will make your paper look more personal and sentimental. Letters will make your paper look more romantic and nostalgic. Maps will make your paper look more adventurous and worldly, and music sheets will make your paper look more musical and artistic. You could even try tickets to make your paper look more fun and memorable.
• Try different techniques
Use different techniques to create different patterns and textures on your paper, such as stamping, stenciling, writing, drawing, or painting. For instance, stamping will make your paper look more decorative and festive, while stenciling will make your paper look more creative and unique. Writing will make your paper look more meaningful and expressive. Drawing will make your paper look more whimsical and playful. Lastly, painting will make your paper look more colorful and vibrant. You can use any kind of stamps, stencils, pens, pencils, or paints you have at home. Just make sure they are compatible with your paper and tea.
• Use different tools
Try different tools to create different effects on your paper. For example: a lighter, a candle, a match, or an iron. A lighter will make your paper look more burned and charred. Whereas, a candle will make your paper look more melted and waxed. A match will make your paper look more smoky and singed. Lastly, an iron will make your paper look more flat and smooth. You can use these tools to create holes, edges, or marks on your paper. Just be careful not to damage or ignite your paper!
How to Use Your Tea Dyed Paper
Now that you have your tea dyed paper ready, you can use it for various paper crafts and projects. Here are some ideas to inspire you:

• Make a journal or a scrapbook
You can use your paper to create covers, pages, or inserts for your journal or scrapbook. Try also decorating your paper with stickers, washi tape, photos, or other embellishments. You can use your journal or scrapbook to record your thoughts, memories, or plans, or to showcase your creativity and style.
• Make a card or a letter
You can use your paper to create cards or letters for your friends, family, or loved ones. Try also writing or printing messages, quotes, or poems on your paper. You can use your card or letter to express your feelings, gratitude, or wishes, or to celebrate a special occasion or event.
• Make a bookmark or a tag
You can use your paper to create bookmarks or tags for your books, gifts, or other items. Try also cutting or punching shapes, holes, or designs on your paper. You can use your bookmark or tag to mark your place, identify your belongings, or add some flair and personality.
• Make a collage or a decoupage
You can use your paper to create collages or decoupages for your walls, furniture, or other surfaces. Try also mixing and matching your paper with other materials, such as fabric, lace, or paper napkins. You can use your collage or decoupage to decorate your space, transform your items, or create a unique and artistic piece.
Conclusion
Tea dyeing paper is a fun and easy way to give your paper a vintage and antique look. You can use different methods and materials to create different effects and colors on your paper. You can also use your paper for various paper crafts and projects. Tea dyeing paper is a great way to unleash your creativity and imagination, and to add some charm and character to your paper. I hope you enjoyed this article on how to tea dye paper and found it useful and informative. If you have any questions, comments, or suggestions, feel free to leave them below. Happy tea dyeing!
Discover More Tea-Related Articles:
- The Best Tea for Sore Throat: A Complete Guide
- How to Make Thyme Tea in 4 Easy Steps (Plus 2 Delicious Recipes)
- How to Make Grapefruit Tea: A Delicious and Nutricious Drink
- Mixing Tea and Coffee: The Best Energy Boosting Recipes
- How to Make the Traditional Tea of Palestine – Shay bil Maramiya
Leave a Comment